How to Make Hair Pop Using Lightroom
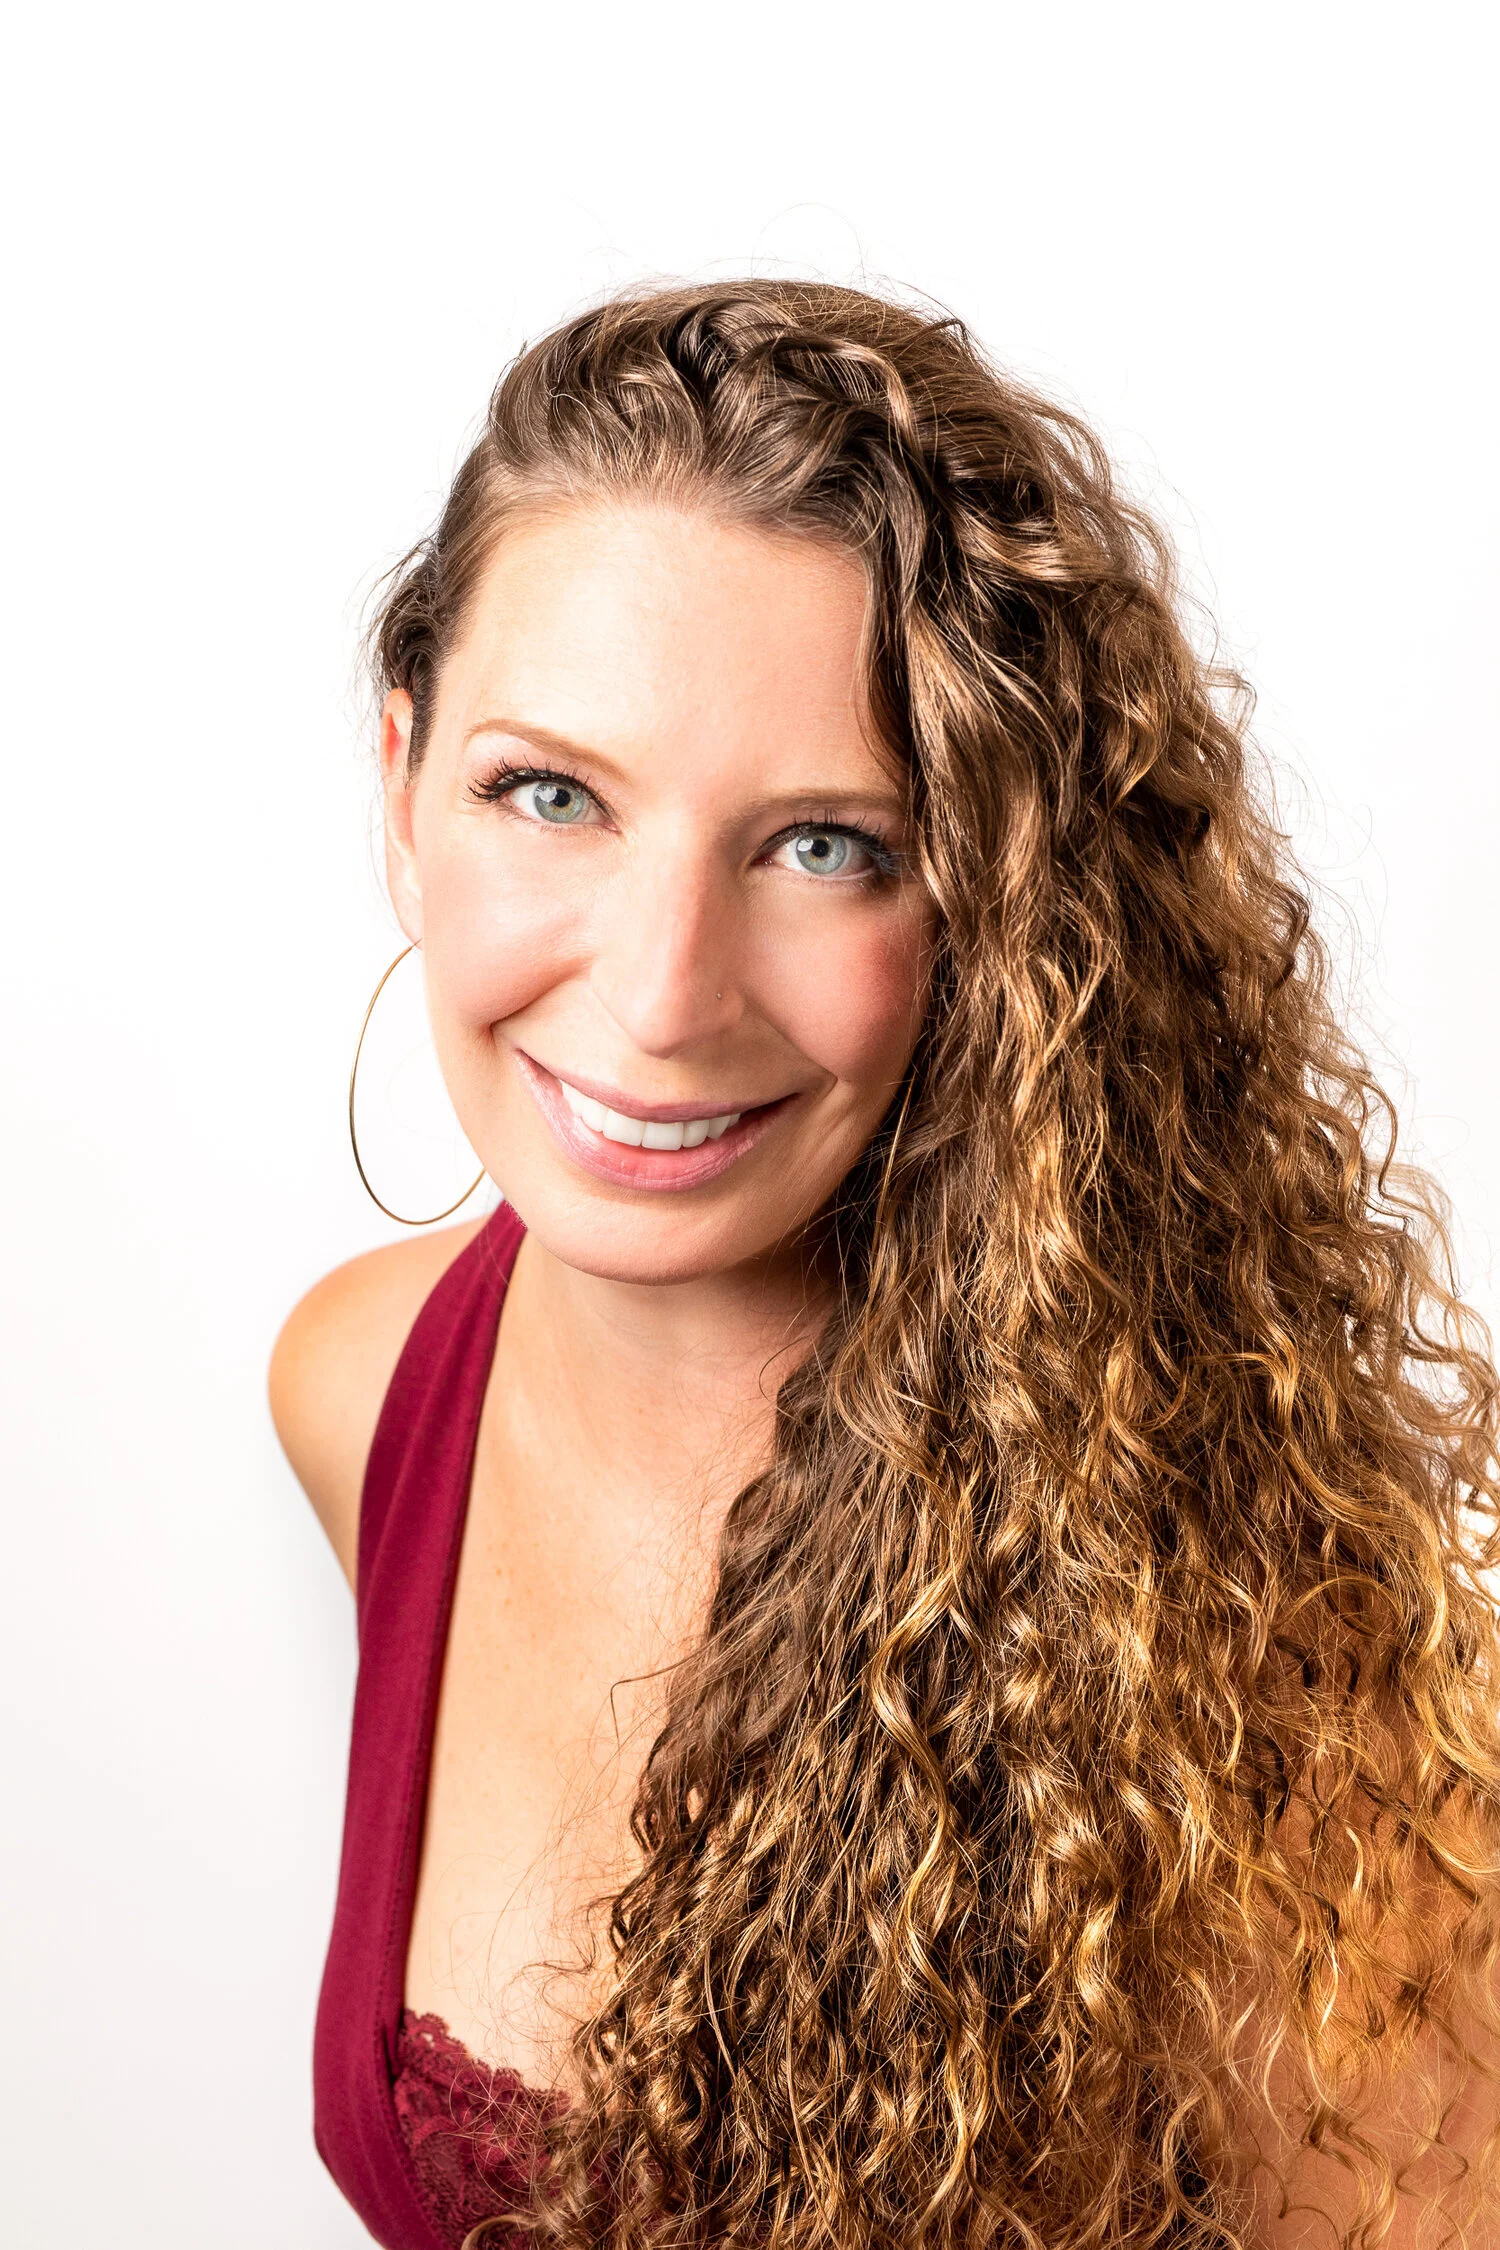
One of my clients has the most luscious hair I’ve ever seen. These are some serious Monat curls. As I was editing a headshot, I wanted to pull special attention to her hair. Read more about which Lightroom settings I used to create hair definition and texture for people.
Edit Holistically, Then Focus On Hair
Make sure your image is edited on a macro level first. Meaning, get your exposure, tone curve, lights, shadows and white balance squared away. Hair is one of the last details I edit, after the light and shadows have been cared for.
I work out of my home, not a fancy studio (yet) so I do my best with my limited equipment to shoot as well out of camera as possible. It’s not always perfect so thank goodness for a few minutes in Lightroom.
Because I like bright photos, I tend to choose bright backdrops that make my subject the hero of the image, focusing on the details as I go.
Adding Texture To Hair Using Lightroom
I’m going to assume that if you’re reading this article, you have a basic understanding of Lightroom and know how to make finer edits with the local adjustment brush.
If not, hop over to Kelby One for Lightroom training. It’s worth it and will drastically improve your workflow (aka hourly profitability).
First, choose your local editing brush (on a Mac, hit the letter “K”).
Then, enter the settings below (adjust as needed) and “paint” the brush over your subject’s hair. You can always hit “Erase” and brush over anything that went out of the lines.
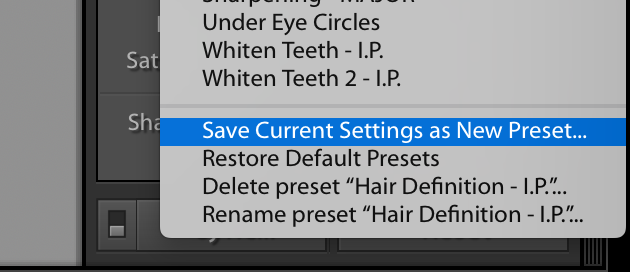
To save: Click on the dropdown next to “Effect” at the very top of the local adjustment menu and click “Save Current Settings as New Preset”.


